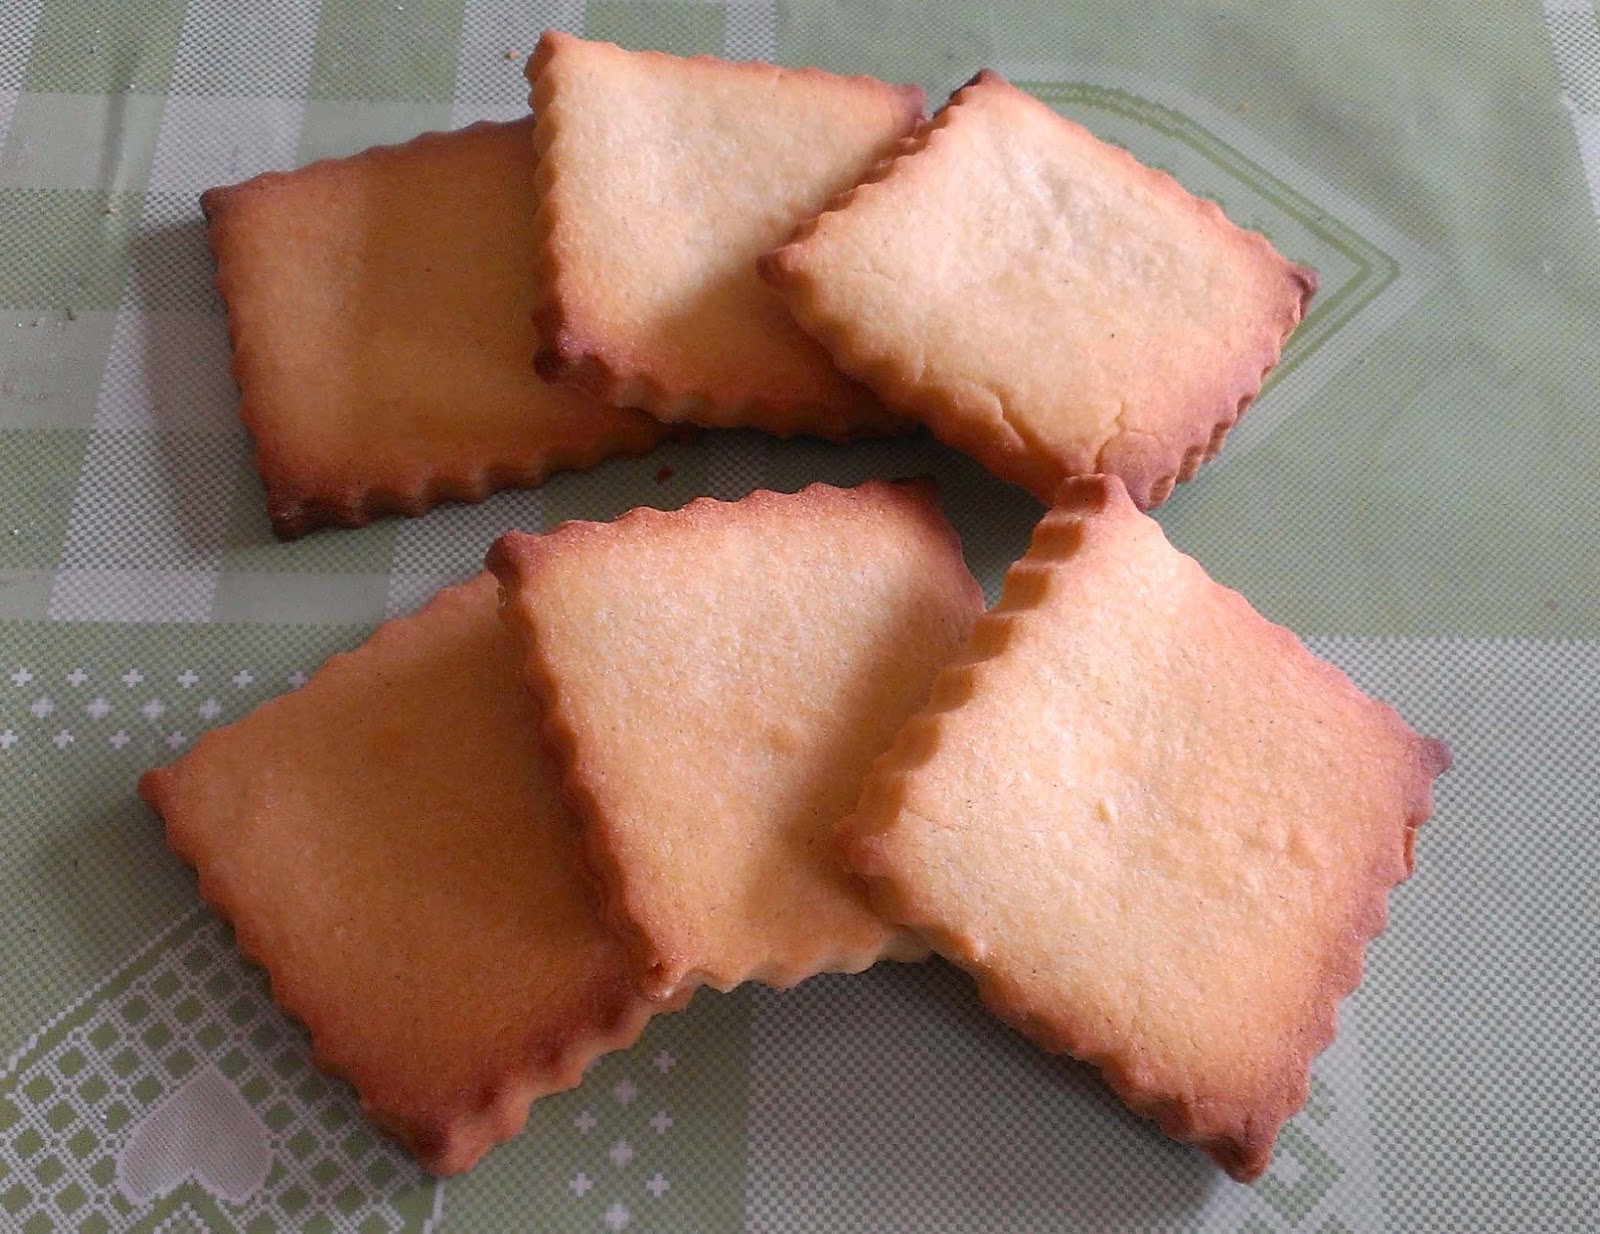
 To start with, I made up a batch of butter cookies using my favourite recipe; that is, the one from Cookie Magic by Kate Shirazi.
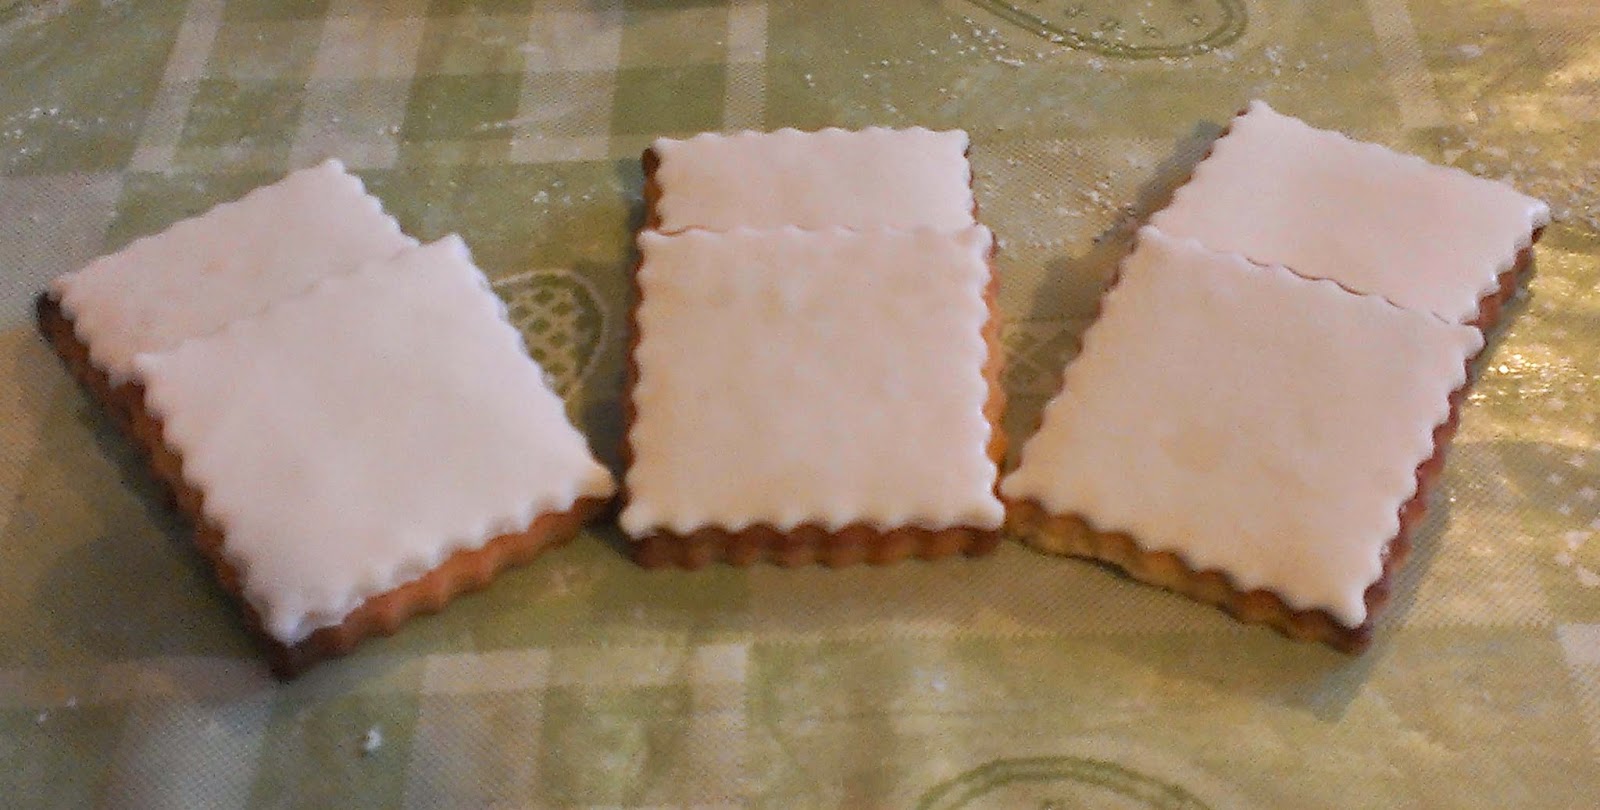
The next layer was one of shop bought fondant, rolled out and cut out with the same size of cutter I'd used for the cookies themselves. These were set in place by simply wetting the back of each piece and pressing gently, bur firmly onto the cookie. I do intend to try making my own fondant for future baking efforts, but time was short on this one, so I couldn't afford failed attempts.
 While those were setting, I make up a batch of royal icing (also detailed in the book above) and coloured it purple to get that Argent and Purpure look I needed for the heraldry. Little tip here; if, like me, you don't have purple food colouring available, make sure to mix your colours before adding to the icing. This makes it much easier to achieve an even result.
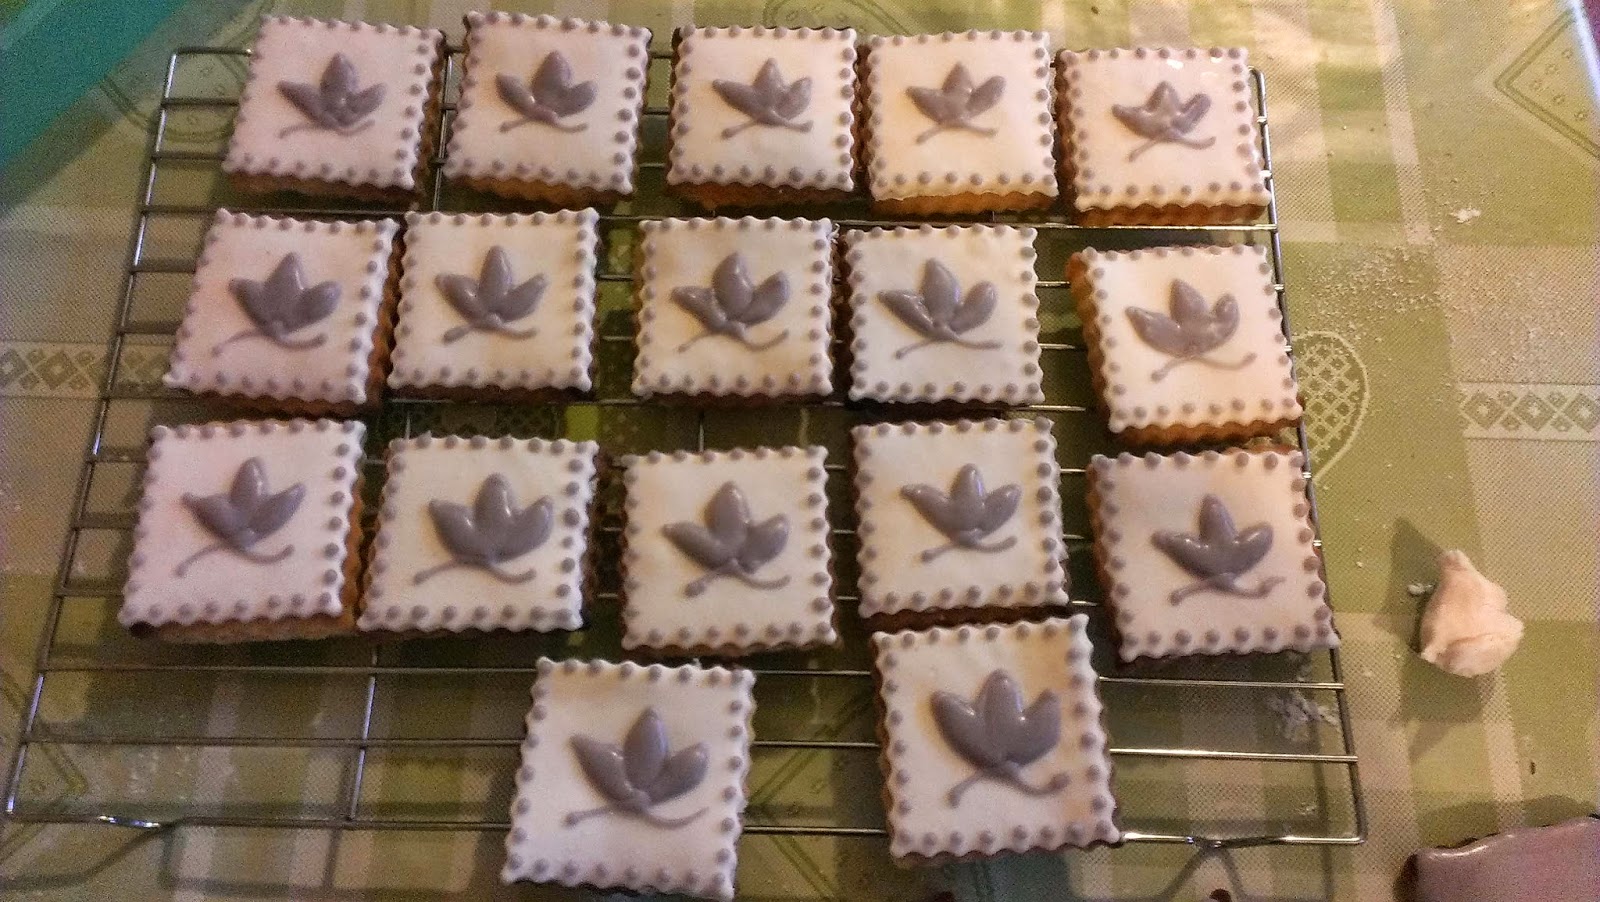
For the first application of icing, I added dots along the scalloped edge of the icing, and drew out a basic heraldic lily in the centre of the cookie. It's important to let the icing outline dry before filling in the shapes. Filling in the petals too soon would have resulted in a leaking of the icing from the shapes and a messed up cookie. I found that outlining about 10-12 cookies at a time meant by the time the twelfth outline was complete, the first cookie could be filled in.
Also, be sure to give the icing plenty of drying time. I left them for almost 24 hours on the rack and even at that they were inclined to stick together when stacked in a box.
Voila! The finished cookies. Pretty and as I understand, quite tasty, and they were very fun to make.

No comments:
Post a Comment